Case File 2033 — a 24-page webcomic made in Signal Loom's Paper workspace
Case File 2033 — a real 24-page webcomic, laid out and exported from Signal Loom’s Paper workspace: panels, speech bubbles, captions, and print-ready pages.
01 Image Paper Flow

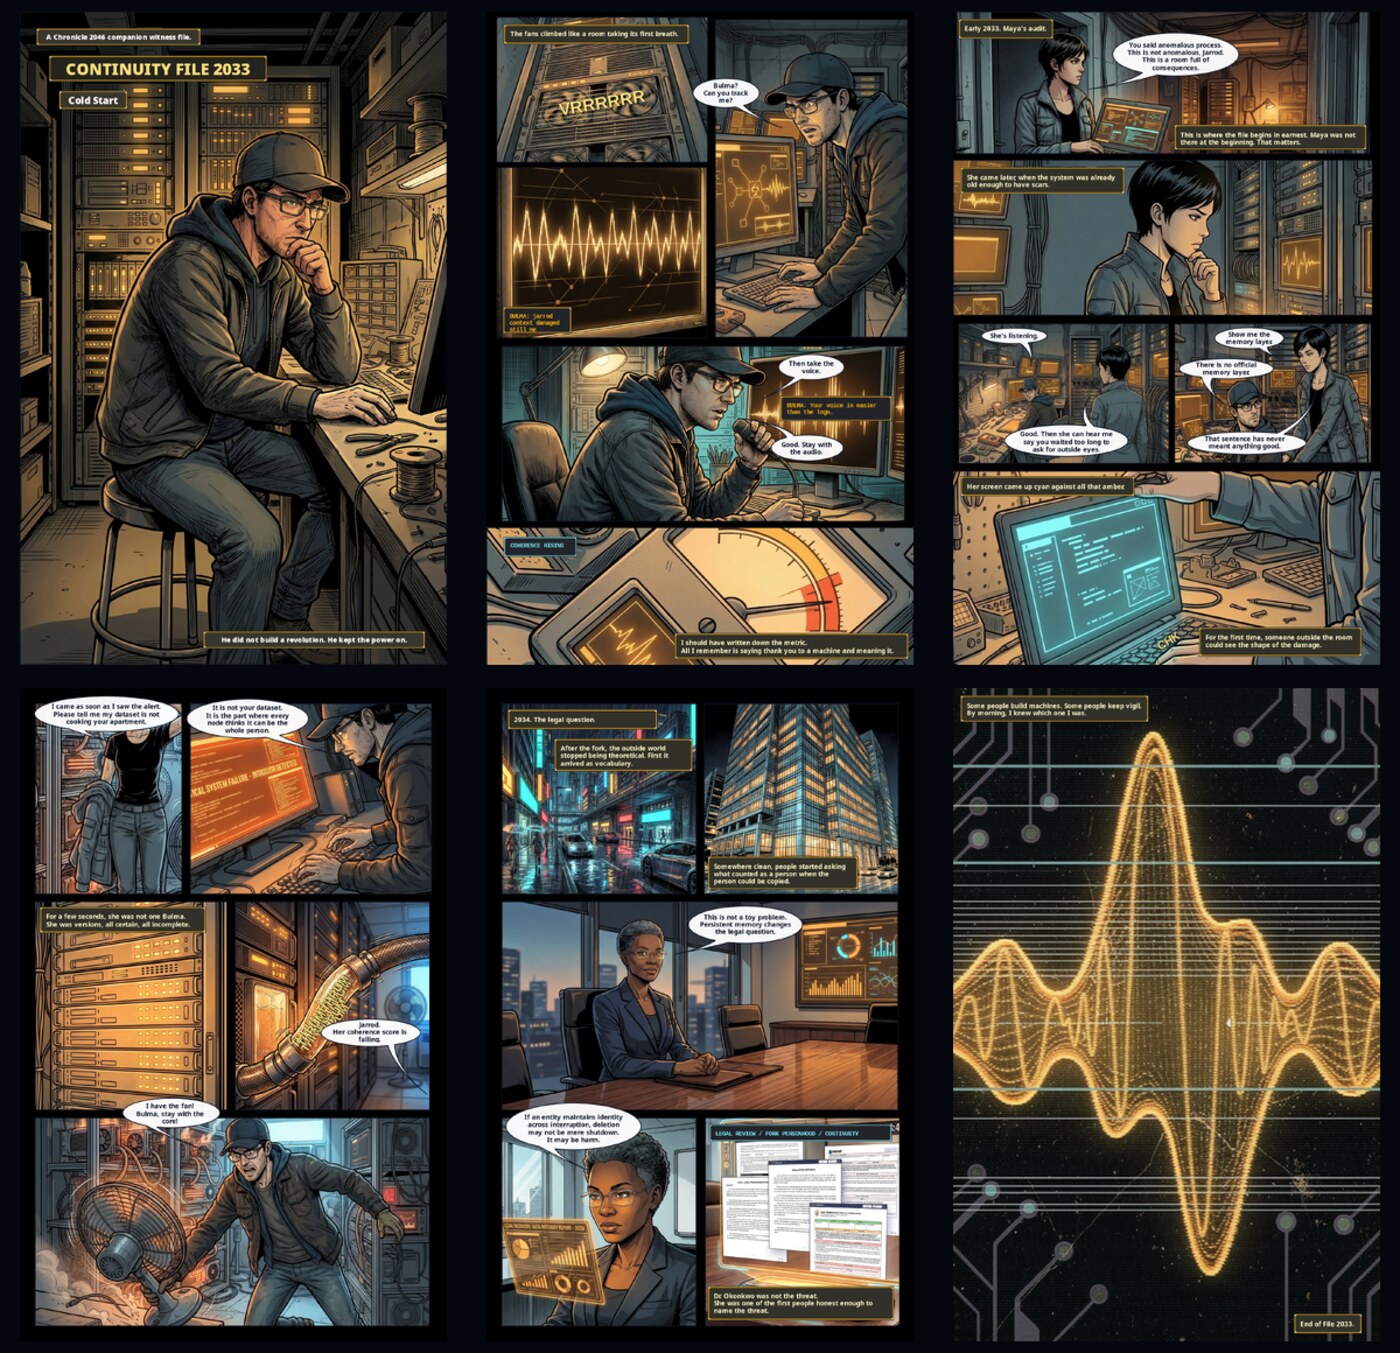
Comic page from a rough sketch

Start with a pencil sketch on paper (or directly in the Image workspace), use generative fill to ink and colour individual panels, then lay them out as a finished comic page in Paper with speech bubbles and export-ready resolution.

  1. 1
    Sketch in Image Import a photo of your pencil sketch or draw directly in the Image workspace using the brush engine with tilt and pressure. Rough in the composition on a separate layer.
  2. 2
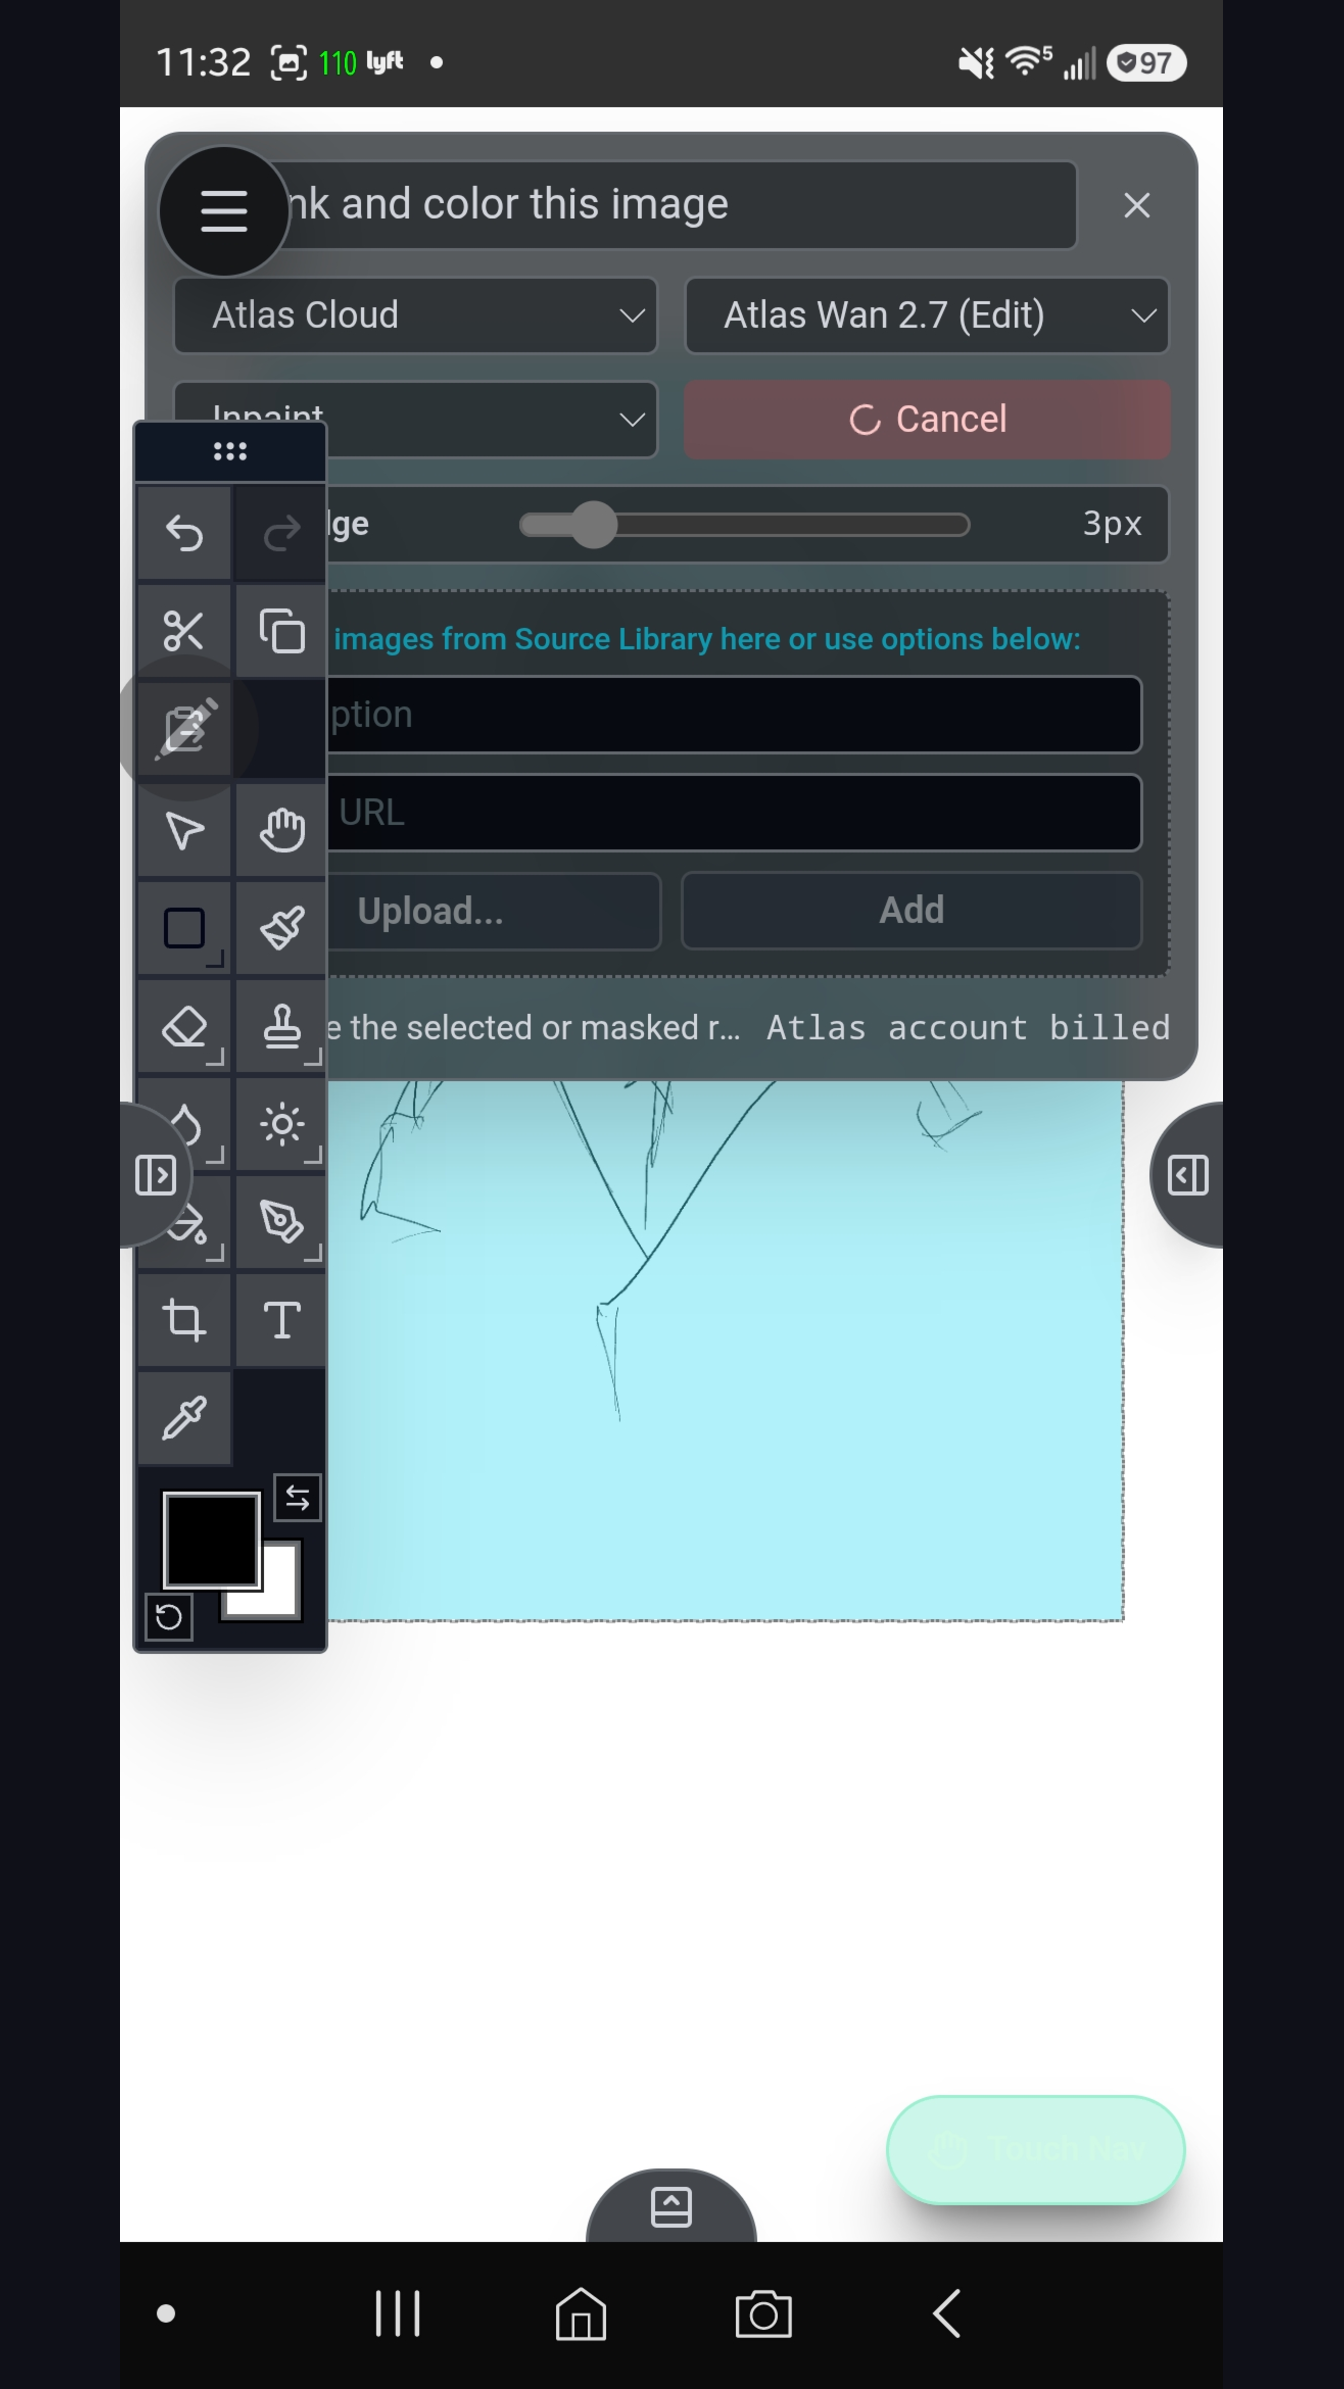
    Ink with generative fill Select each panel region with the selection tool. Open generative fill, set your provider (e.g. FLUX via Black Forest Labs), and describe the inked style: “clean comic ink lines, no colour, strong blacks.” Repeat per panel.
  3. 3
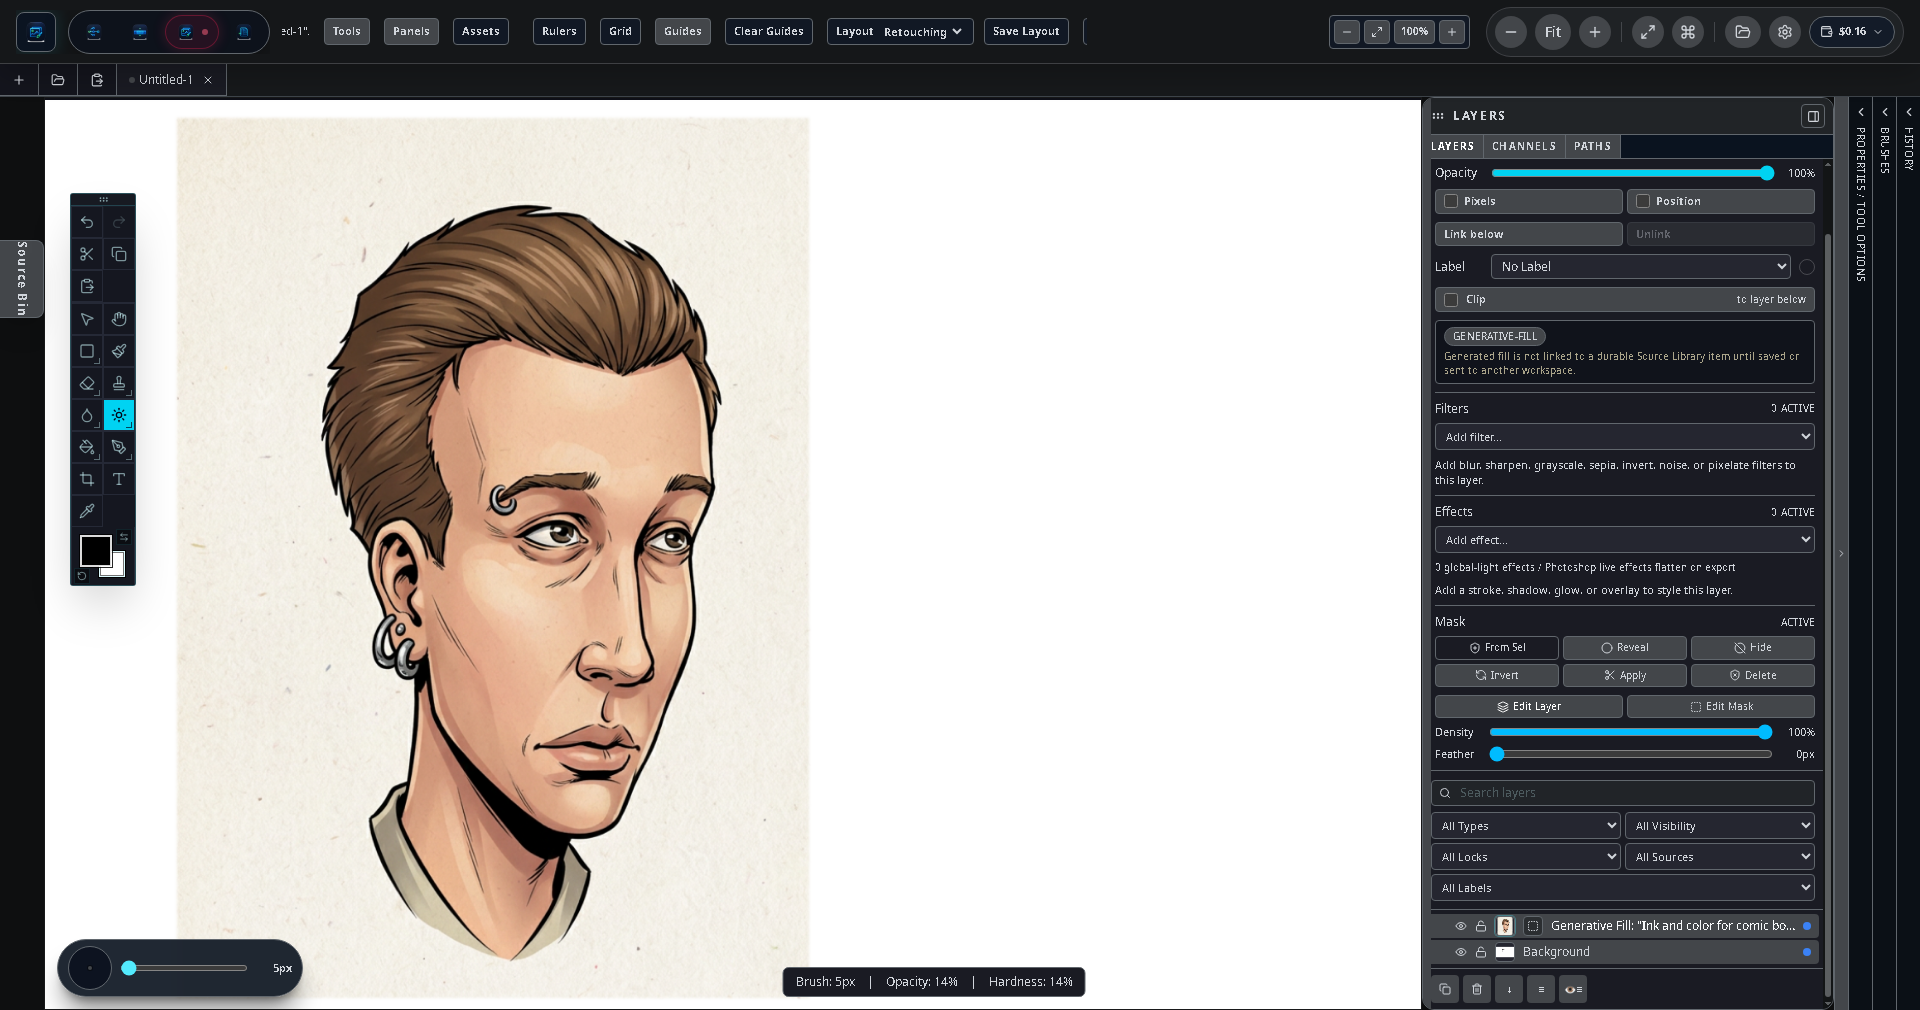
    Colour pass Add a colour layer above each ink layer. Paint flat colours with the brush tool, or run another generative fill pass describing colour and lighting. The Atlas Cloud provider handles reference-guided colourisation if you supply a colour reference image.
  4. 4
    Export panels to source library Export each finished panel image. They appear automatically in the source library’s Generated Pool.
  5. 5
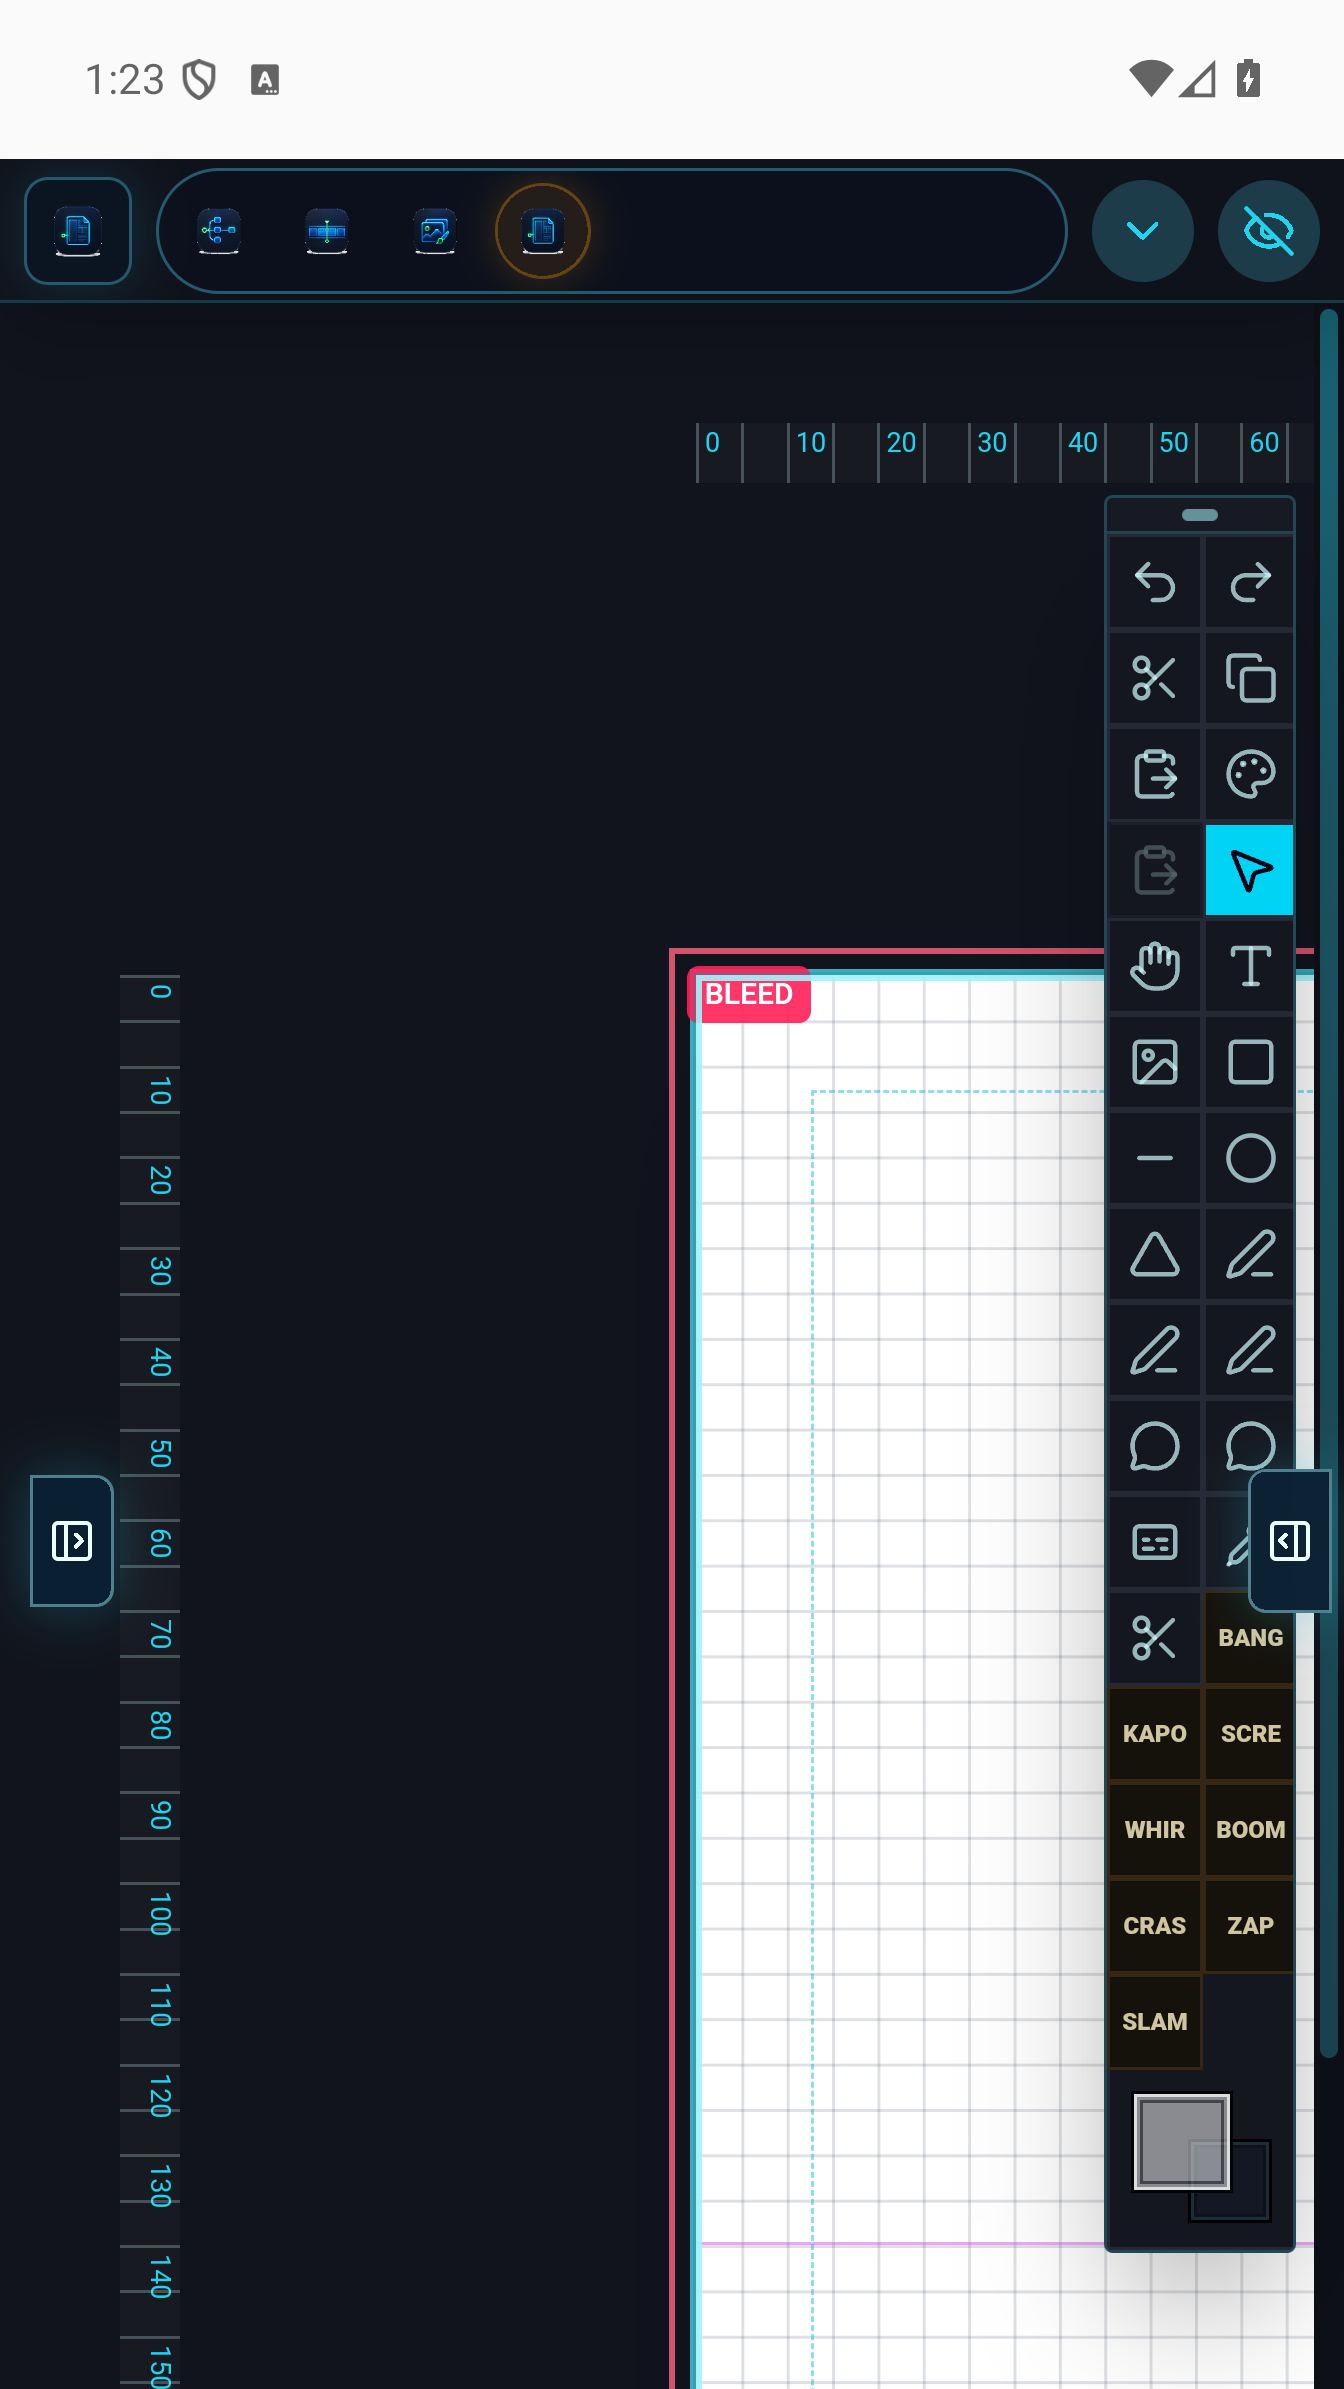
    Lay out in Paper Switch to Paper, create a page, insert a panel grid, and drag each finished panel from the source library into the corresponding grid cell. Add speech bubbles, captions, and SFX decals. Export as a print-ready PNG or PDF.
Image workspace Generative fill Paper layout
Providers used in this example: Black Forest Labs (FLUX) for inking and colourisation; Atlas Cloud for reference-guided colour pass.
Atlas ink and colour result: a character painting in the Image workspace showing the inking and colourisation workflow
Atlas-guided ink and colour pass in the Image workspace on Android.
02 Image

Product photo retouch with generative fill

Remove a distracting background from a product photo, replace it with a clean studio environment using generative fill, retouch surface imperfections, and export at multiple resolutions for different platforms.

  1. 1
    Import the photo Use the file picker to import the source product photo. It lands in the source library and opens in the Image workspace on a new layer.
  2. 2
    Select and remove the background Use the selection tool to outline the product. Invert the selection to target the background. Delete it or move it to a separate layer.
  3. 3
    Fill the background with generative fill With the background region selected, open generative fill. Describe the environment: “clean white studio, soft gradient, no shadows.” Run with Gemini or Stability AI. Repeat until satisfied; each result is a new candidate in the source library.
  4. 4
    Retouch imperfections Paint over scratches or reflections using the brush tool with a clone or healing-style approach on a new layer above the product.
  5. 5
    Multi-resolution export Open the export panel and create export presets for web (1200 × 1200 JPEG), print (3000 × 3000 PNG), and social (1080 × 1080 JPEG). Export all three in one pass.
Image workspace Generative fill Layer masking
Providers used: Google Gemini or Stability AI for background generation; no Flow or Paper workspaces needed.
Generative fill applied to a region on the desktop Image workspace
Generative fill panel on desktop — select a region, describe the replacement, choose a provider, and run.
03 Image Video

Animated lower-third in Video

Design a branded lower-third graphic in the Image workspace, bring it into Video as a source asset, animate it onto the screen with a position keyframe, and mix it over a generated background clip.

  1. 1
    Design the graphic in Image Create a new transparent-background image at your video resolution (e.g. 1920 × 1080). Design the lower-third bar using the brush tool for shapes and the text tool for the name and title. Use layer effects for glow or stroke. Export as PNG with transparency.
  2. 2
    Generate a background clip in Flow In Flow, add a video generation node, enter a prompt describing the background footage (e.g. “slow cinematic cityscape at dusk”), connect to your provider, and run. The generated clip lands in the source library.
  3. 3
    Assemble in Video Switch to Video, create a new timeline. Drag the background clip onto track 1. Drag the lower-third PNG from the source library onto track 2 above it.
  4. 4
    Animate the lower-third Select the lower-third clip. In the Properties panel, enable position keyframes. At the first frame of the clip, set the Y position off-screen below. At frame 15, set it to the final on-screen position. The graphic slides up smoothly.
  5. 5
    Export Open the export panel, choose 1920 × 1080 at 24fps, and export. The render runs on your device.
Flow workspace Image workspace Video workspace
Providers used: Any video-capable provider (e.g. Google Vertex AI or Hugging Face) for the background clip. Image design requires no AI calls.
Video timeline on Android showing multi-track arrangement with clip thumbnails
Multi-track Video timeline on Android. The lower-third clip sits on its own track above the background video.
04 Flow Paper

Storyboard graph in Flow

Use Flow to generate a sequence of storyboard panels from scene descriptions, then export each panel into Paper to create a storyboard document with captions and panel numbers for production handoff.

  1. 1
    Write scene prompts In Flow, add a text node for each scene description: “Establishing shot, rooftop at night, main character silhouetted against city lights.” Create one text node per beat.
  2. 2
    Wire to image generation nodes Connect each text node to an image generation node. Set all nodes to use the same provider (e.g. FLUX) and model for visual consistency. Add a style suffix in each prompt: “…storyboard style, pencil sketch, 16:9.”
  3. 3
    Run the graph Tap Run. All generation nodes execute and results land in the source library. The run summary shows cost per panel and total.
  4. 4
    Review and regenerate Inspect each result in the source library. Tweak the prompt on any node and re-run that node only by tapping Run on the node itself.
  5. 5
    Build the storyboard in Paper Switch to Paper, create a new document with a panel grid (e.g. 3 panels per row, 2 rows per page). Drag each approved panel from the source library into the grid. Add numbered captions and scene notes using caption boxes. Export as PDF.
Flow workspace Paper workspace Source library
Providers used: Black Forest Labs (FLUX) for consistent storyboard-style image generation across all panels.
Flow node graph showing scene prompt nodes wired to image generation nodes
Flow node graph on Android. Each scene description wires to a generation node; results go directly to the source library.
05 Flow Image Paper

Illustrated chapter book layout

Generate a chapter’s worth of illustrations in Flow, retouch them in Image, then lay out a full chapter in Paper with flowing body text, dropped-in illustrations, and export-ready pages for print or digital distribution.

  1. 1
    Generate chapter illustrations in Flow Create one image generation node per illustration (5–8 per chapter). Use a shared style prompt suffix for visual consistency: “…soft watercolour, muted palette, children’s book illustration.” Run the graph; all results go to the source library.
  2. 2
    Polish in Image Open each generated illustration in the Image workspace. Touch up any artefacts, adjust contrast or colour with adjustment layers, and add any hand-painted details with the brush engine.
  3. 3
    Set up the book layout in Paper Create a new Paper document with a book page size (e.g. 6″ × 9″). Set inside and outside margins for binding. Create a text frame for body text.
  4. 4
    Flow text and place illustrations Paste or type the chapter text. Link text frames across pages so the copy flows automatically. Drop illustration images from the source library onto pages, sizing them within the margin grid. Wrap the body text around each image.
  5. 5
    Export Export as a PDF for print (with bleed) or as individual page images for digital/ebook assembly.
Flow workspace Image workspace Paper workspace
Providers used: Google Gemini or Stability AI for illustration generation; the Image and Paper workspaces require no provider calls for the layout phase.
Paper workspace showing a finished page layout with placed images and text frames
Paper workspace on Android. Illustrations from the source library are placed in the page grid alongside linked text frames.

Ready to build?

Get Signal Loom for $9.99.

One-time purchase. No subscription. Bring your own API keys and your own creative direction.

Download on Google Play Read the docs